How to make kandi beaded chest harnesses! Step by step instructions with a video and photos included!
- Davena
- Jan 18
- 4 min read

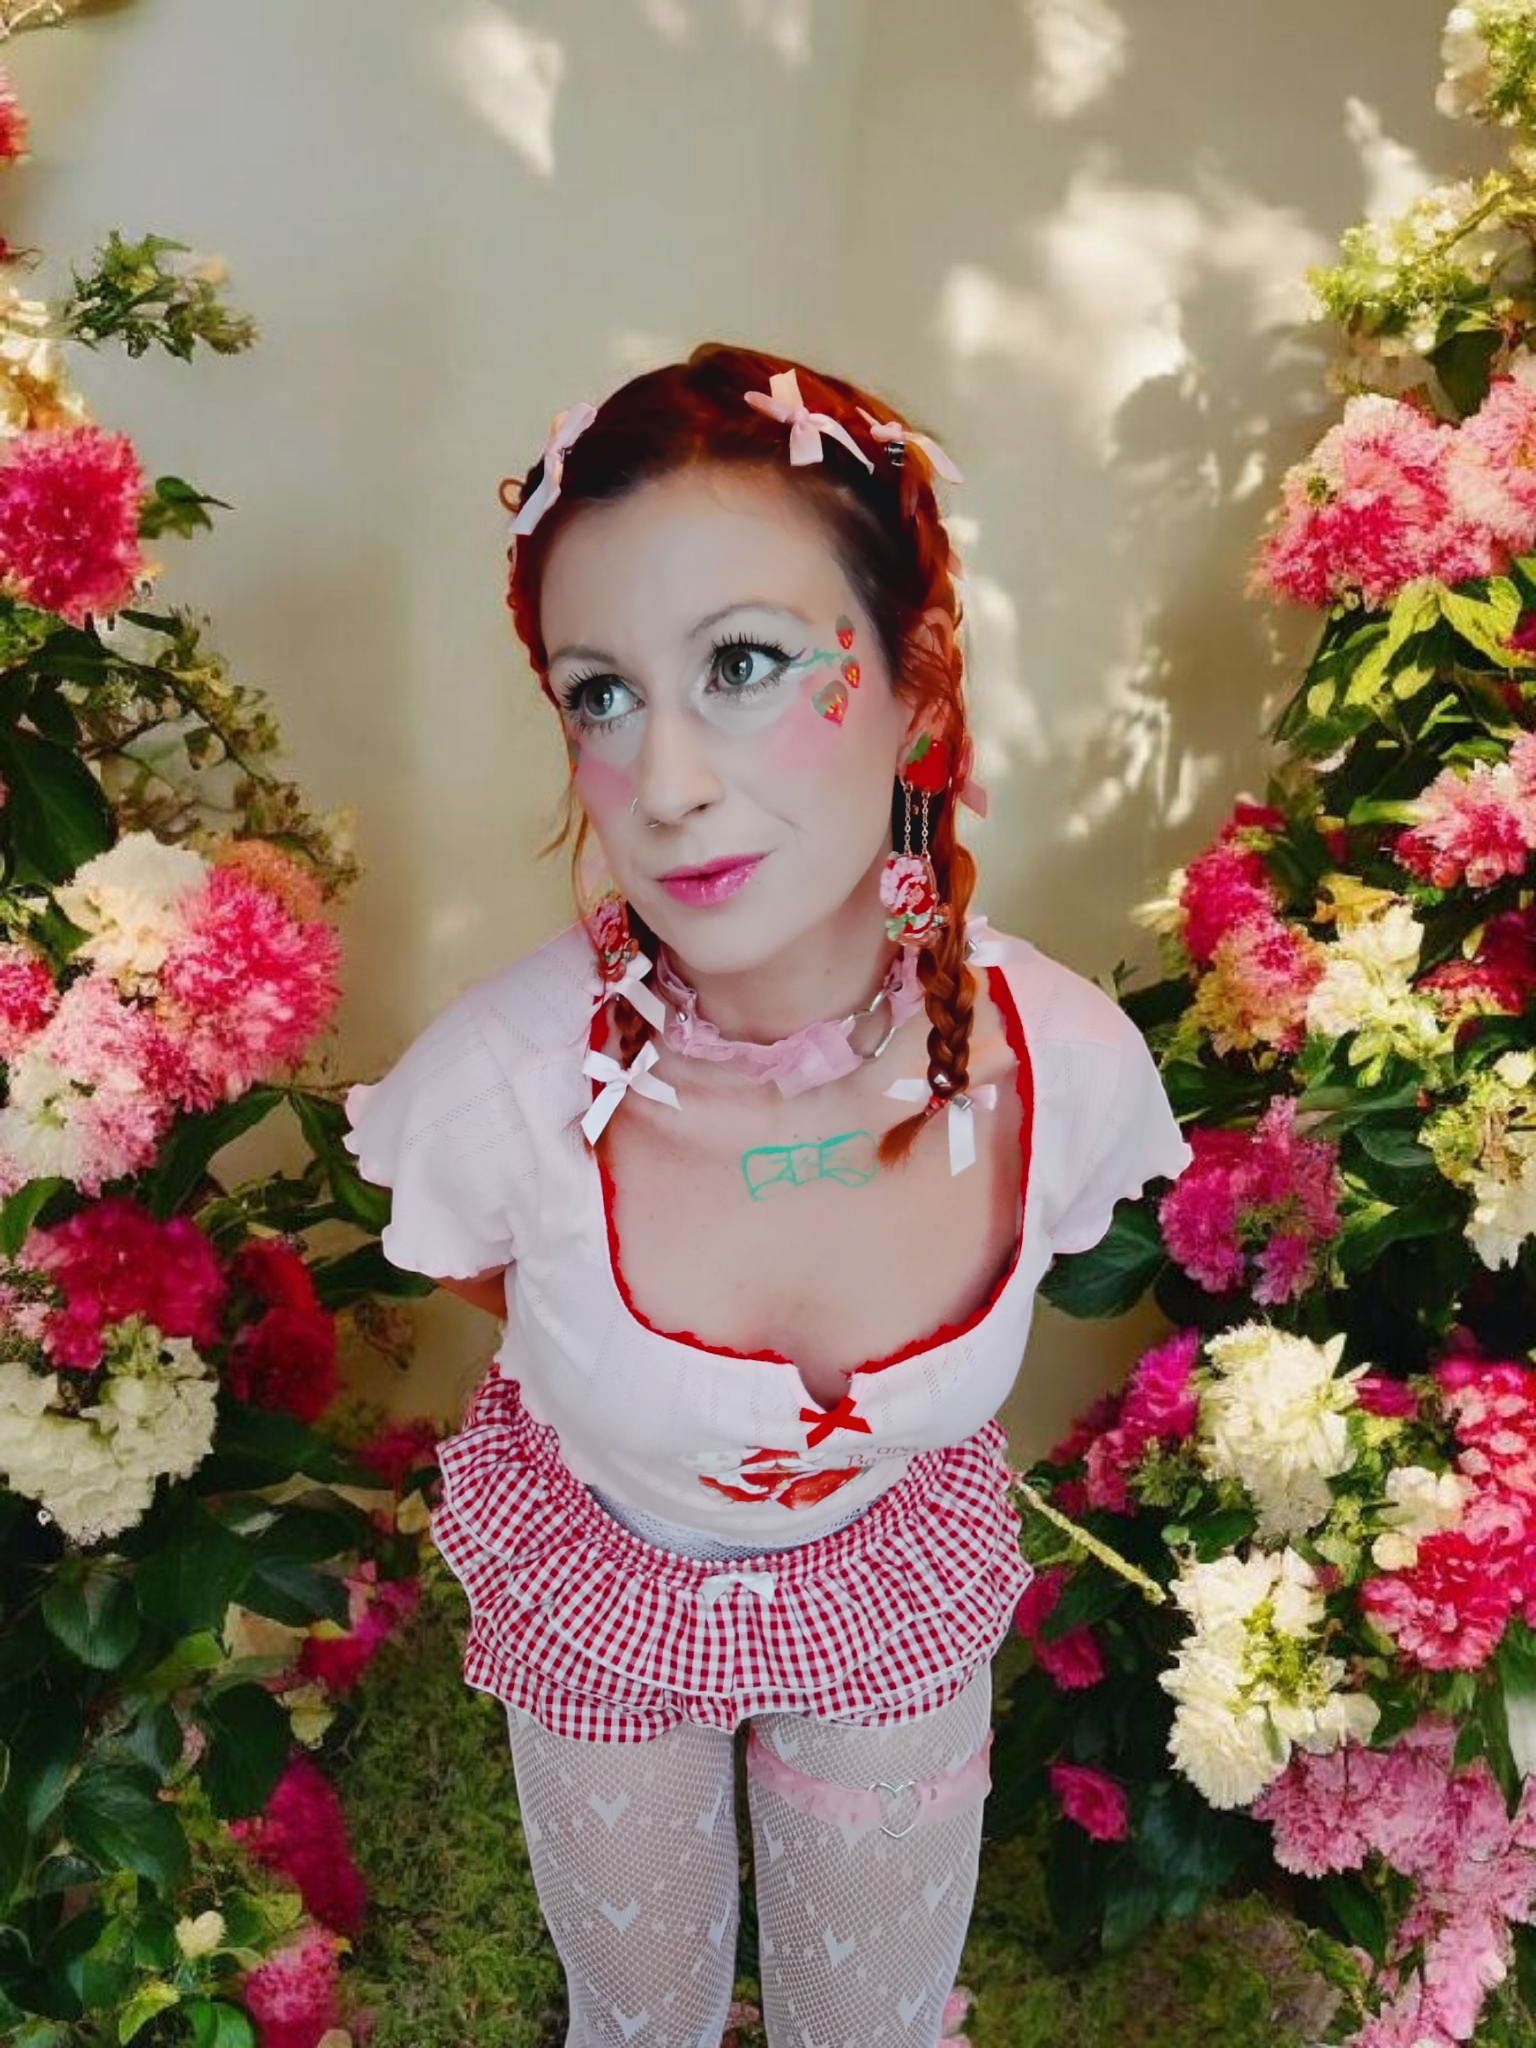
Beaded chest harnesses are such a fun statement piece for raves, festivals, or just adding some extra personality to your outfit! They look complicated, but once you get the pattern down, they're actually pretty easy to make. Let me show you how!
What You Need:
•Beads that fit your elastic cord (pony beads work great! Just make sure they're not too small for your cord to slide through)
•Fabric elastic cord (this is super important - NOT nylon cord or anything non-stretchy, it won't work!-it will fall apart while you are wearing it.
•Scissors
•Key rings
•Lobster clasps- I use chunky plastic oversized lobster clasps. You can also just use string or ribbon for the ties if you do not have lobster clasps on hand!

Understanding Your Measurements
Before you start beading, you need to know how many chains to make and how long each one should be. This harness wraps around your body, so you're making 2 of everything - one chain for the left side and one for the right side.
You'll need:
2 top bust chains - sits over your top chest
2 under bust chains - go under your chest
2 side bust chains - sits on the side of the bust
2 neck wrap chains - wrap around your neck
2 back wrap chains - wrap around your back
Check out the diagram below for a visual!

If you don't know your measurements, you can simply hold the string up to your chest and cut a folded long string to the size of each part of your chest. For example, hold a folded long piece of string from the middle of your chest to the top till it reaches right by your underarm area - or you can also use a bra as a template to measure the strings around it! Just make sure it's a folded string for the length and not just one layer of string. These have some adjustable stretch to them, so always make it a little smaller than what you think you need - it's stretchy when you are finished! I literally fit in size extra small to large just because of how adjustable they are!
Making Your Beaded Chains
Now let's make the actual beaded parts! You'll repeat this process for each chain you need (that's 10 chains total - 2 of each).
Step 1: Cut a really long piece of elastic cord. Seriously, make it longer than you think you need - you can always trim extra, but you can't add more! Well you can but it's better not to.
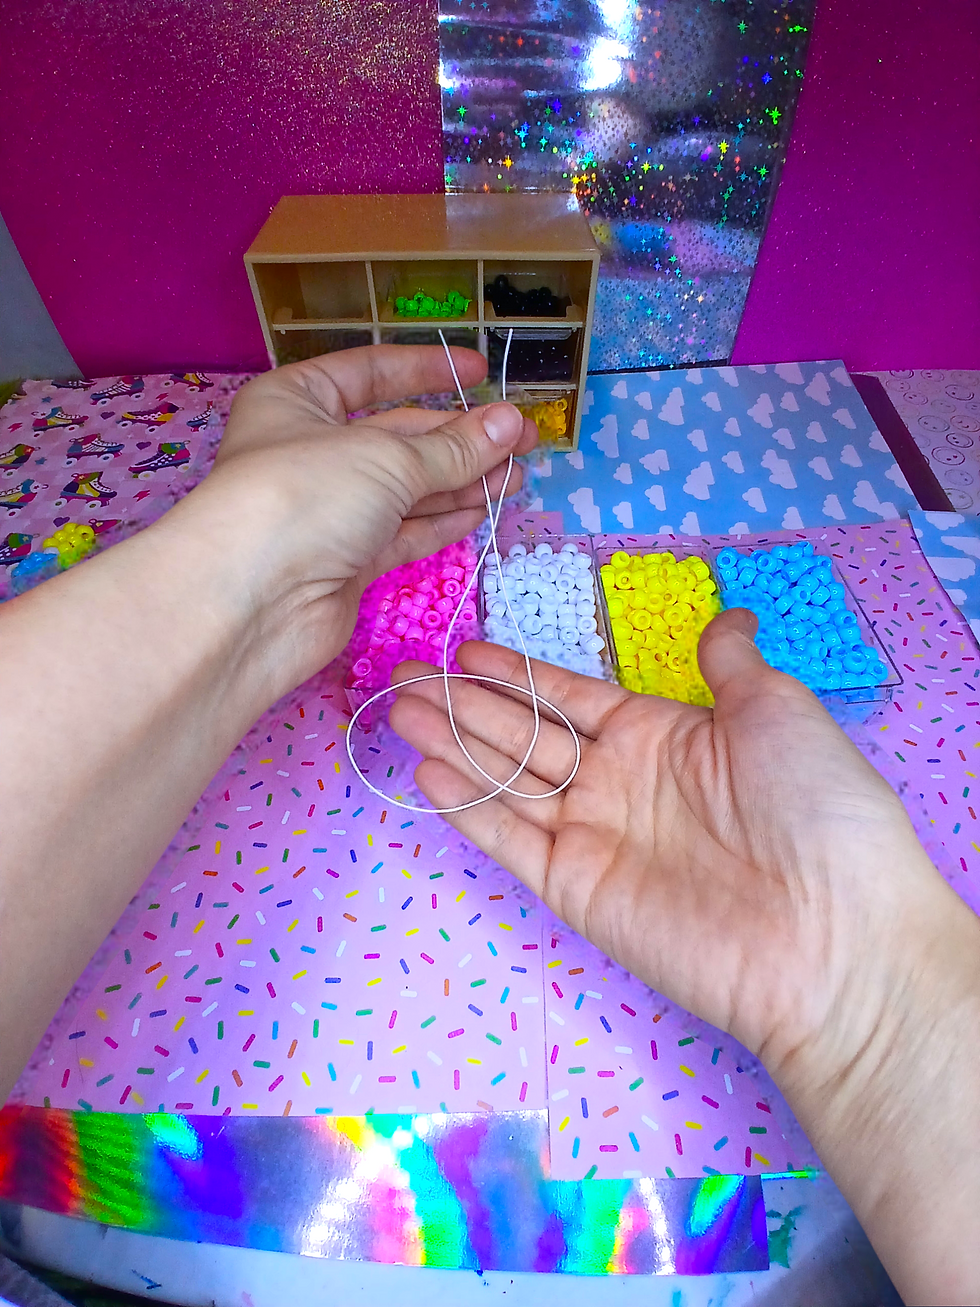
Step 2: Fold your cord in half so you're holding two pieces together with a loop at the bottom - kind of like you're about to make a necklace.
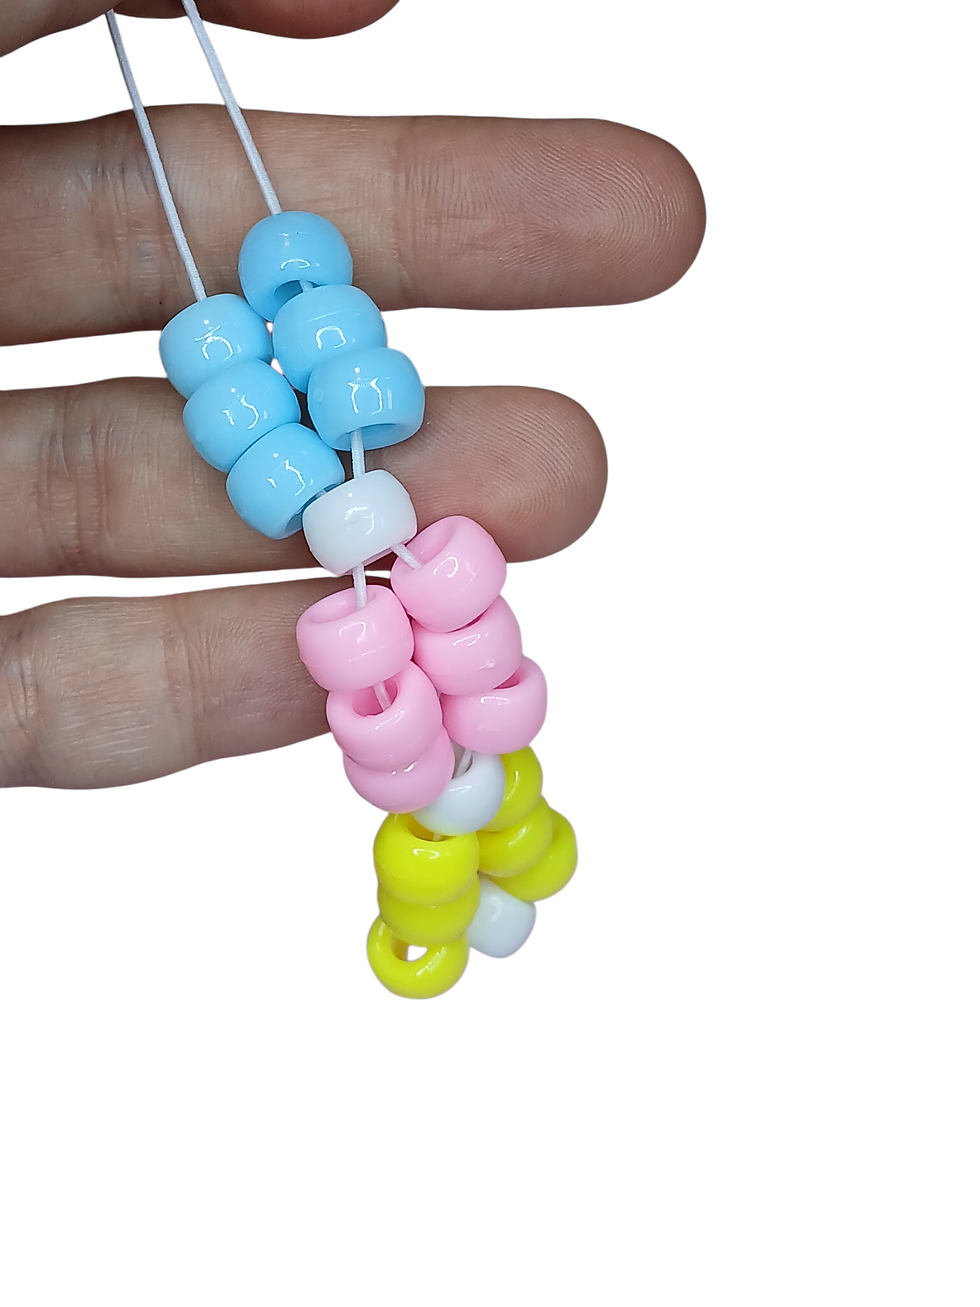
Step 3: Put 1 bead onto one side of the string and let it drop all the way to the bottom. This is your starter bead. (I am useing white beads as my "holder beads" throughout the whole design but you can choose whatever color.)

Put the bead at the top of one string

And let the bead just fall to the middle.
Step 4: Go back to the top where you're holding both strings. Put 3 beads of the same color on one side of the string, then 3 beads of the same color on the other side (6 beads total). Let them drop down.

This is showing you what it looks like. 3 on both sides of the string.

Then let them drop to the middle with the starter holder bead!
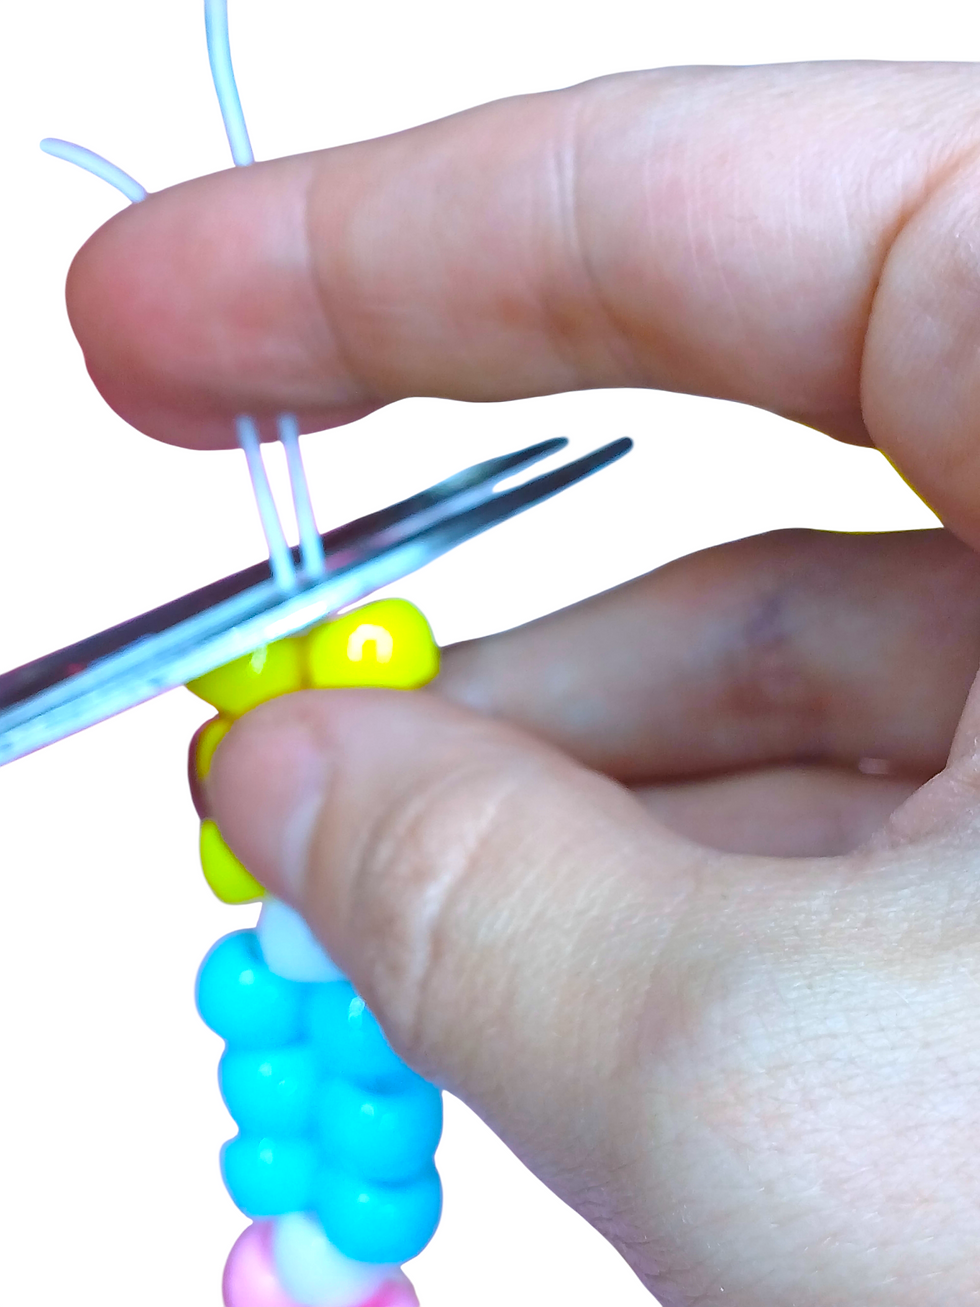
Step 5: Now put both strings together and slide them both through 1 holder bead (same color as your starter bead).

Let it drop.
Your pattern should look like this now: starter bead at the bottom, 3 beads on each side, and another holder bead on top holding them together.

Step 6: Repeat the process! Go to the top of the strings, add 3 beads on each side (6 total, same color)

let them drop.

Then put the strings together and add another holder bead through both strings.

Let it drop.

Step 7: Keep repeating! Add your next color - 3 beads on each side

Then slide another holder bead through both strings and let it drop.
The pattern should start looking really clear now: holder bead, 6 beads, holder bead, 6 beads, holder bead, 6 beads...
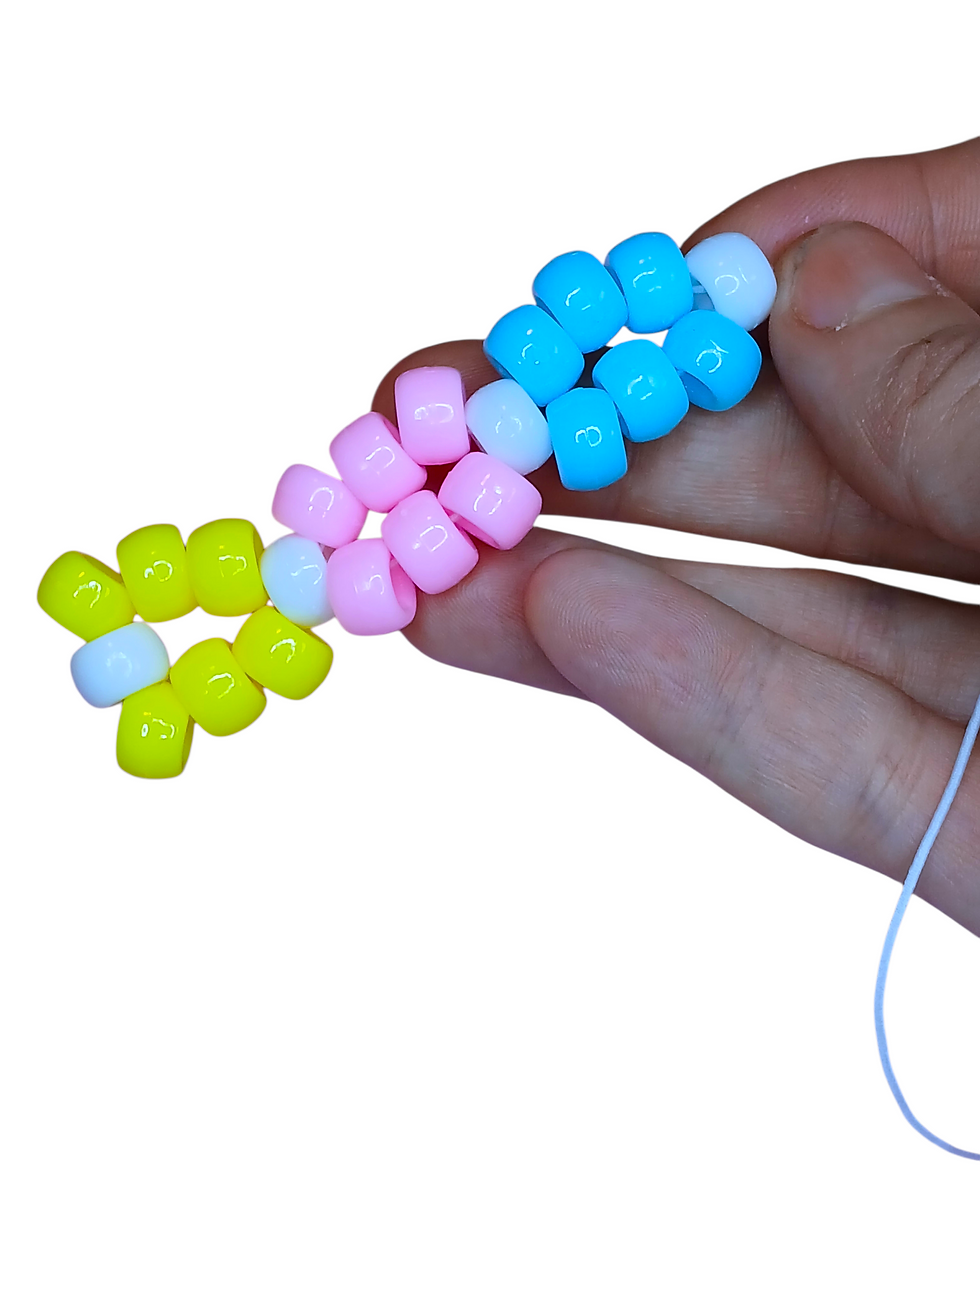
Step 8: Continue this pattern until you reach the length you want. Give it a little tug to tighten everything up so it looks neat.

Step 9: Once you've got the length you want, tie it off!

Then cut the excess strings.
Repeat this entire process for each chain you need to make - that's 10 chains total: 2 top bust, 2 under bust, 2 side bust, 2 neck wrap, and 2 back wrap chains.
Connecting Everything Together
Now that all your chains are made, it's time to connect them!
Step 1: After you've tied off each chain and cut the excess strings, you're going to connect all the ends with key rings.

Step 2: Connect every single chain end with a key ring - including the ends where you're going to attach your lobster clasps- see diagram below for were to connect them.


Step 3: Attach your lobster clasps. The lobster clasp goes on one end and clips to a key ring on the other side - almost like how a necklace works with jump rings! It's the same concept, just oversized. 2 lobster clasps total. One that connects behind the neck and another behind the back. Unless you are using ties instead.

Once you have your key rings in place, your lobster clasps connected, and all of your chains made and attached, you're done!
And that's it! You've made your own beaded chest harness! These are so customizable - you can use any colors you want, make them as long or short as you need, and totally match them to your vibe.

Want to Add Charms and Chains to Your Harness?
Stay tuned and subscribe to Fearless and Frosted right here on my official website for my next blog on how to connect pendants, charms, and chains using jump rings and pliers!
You can also subscribe to my YouTube channel (also under Fearless and Frosted) for video tutorials and more DIY content!


Comments